Your better pictures with details
Please Log in or Create an account to join the conversation.
Please Log in or Create an account to join the conversation.
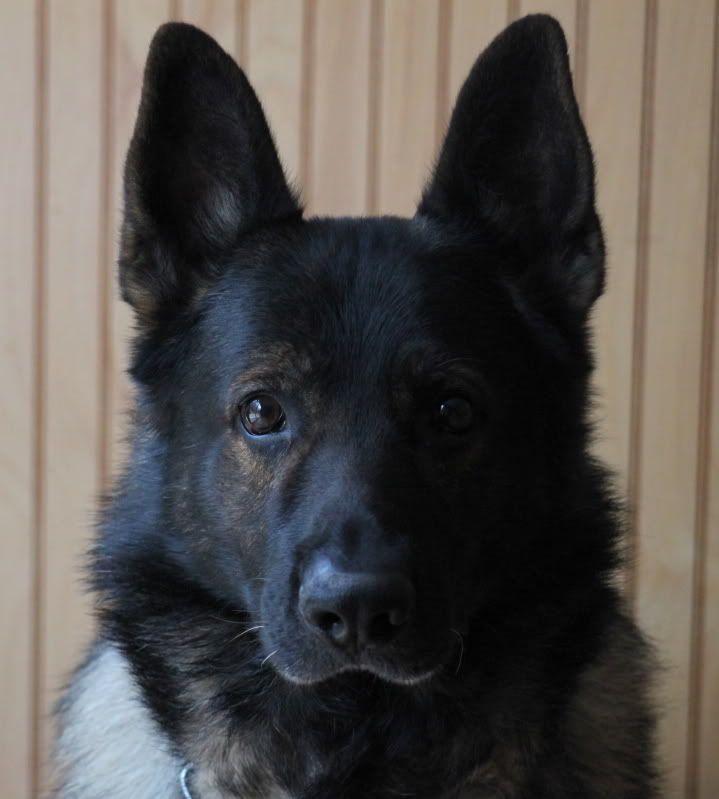
Also try to use the law of thirds for framing instead of just centering the subject.
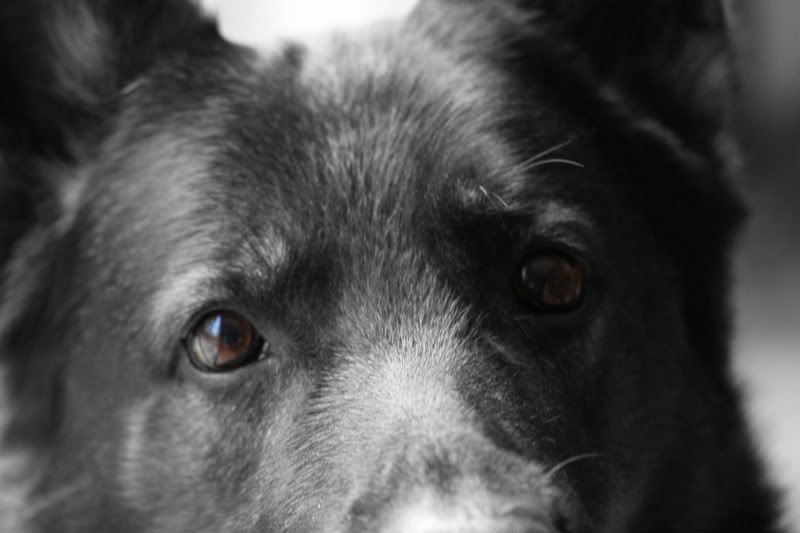
Dont be afraid to crop in tightly on your subject either. Especially if the background is very busy or color contrasty, you want the main focus on the subject not the busyness behind it.
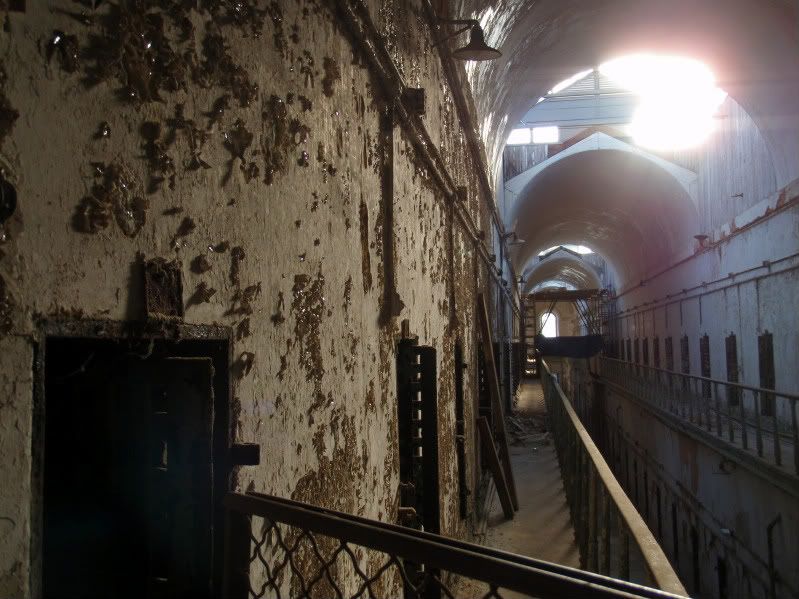
Look for framing and compositions that draw the eye deeper into the image and make you linger on it. what seperate a good photo from a great photo is its ability to cause you to stay with that image, rather than just hitting next on the viewer/browser.
USE A TRIPOD!
if you dont have one, get one. Lighting can be very tricky in most places and long exposures are often necessary to capture the available light. It also allows you to use a slower ISO setting. like 100 which is usually the lowest most DLSR's will go. The image quality is higher, there's less "noise" and almost always truer and more vivid colors and sharpness to the images.
IF you cant get a tripod, place your camera on the ground or a solid level object, set up the framing and focus, switch focus from auto to manual once its nice and sharp, then use the timer so you can trigger the shutter and walk away from the area so you dont et any bumping of the object you placed the camera on. A tube sock filled with rice will also work for uneven surfaces, just be aware that rice will absorb ANY moisture in the air and can get funky from it. perhaps using a plastic bag inside the sock to reduce this.
If you dont have either, wad up your shirt or jacket and place the camera on that (on rough surfaces/uneven support etc)
My Best advice, READ THE CAMERAS MANUAL! shooting on auto is fine but you'll be much more satisfied with the results from the creative modes, like (M)anual, Tv= time value or shutter speed (length of exposure time) in tv you set time and camera selects best aperture for the light available, Av works the opposite way, you set aperture and camera selects the proper exposure time. My fav tho is DEP (depth of field), not alot of cameras have this feature but what it does is it allow you to pick to different points of focus from with in the frame at different distances in depth of field or planes with in the image. The camera then determine what the F-stop Aperture should be and the time to expose for this. This is a great way to learn about how F-stop effects the focus of your camera and is really a great feature once you get used to it.
Even the P program mode is better than auto, it will allow you change the aperture or shutter speed on the fly while still maintaining proper exposure.
I could go on but there are so many things to talk about. I would suggest going to this website and reading some of the articles. Their free and a great source of info and inspirational photos to et your creative juices flowing
www.digital-photography-school.com/
Please Log in or Create an account to join the conversation.
Please Log in or Create an account to join the conversation.
Please Log in or Create an account to join the conversation.
Error 404 wrote: whoops, I didnt realize this was to post your better pictures, not a how to take better pictures post thread.
Its an informative thread. who cares how it goes as long as we learn from it.
Please Log in or Create an account to join the conversation.
Please Log in or Create an account to join the conversation.
Please Log in or Create an account to join the conversation.
- Posts: 443
- Thank you received: 0
Please Log in or Create an account to join the conversation.
Please Log in or Create an account to join the conversation.
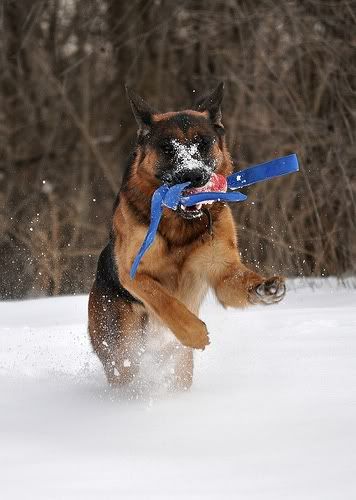
This is what I'm trying to achieve... See how the dogs WHOLE body, even so snow kicking up is so clear
Please Log in or Create an account to join the conversation.
Please Log in or Create an account to join the conversation.


